17/09/2026 · Setup guides
Your first Build, step by step
All twelve wizard steps from website analysis to approval: what each one asks, what it decides downstream, and what happens after you approve.
By The usepicked team
A Build is one personalised GoHighLevel system for one business. The wizard has twelve steps; most of your time goes into reading drafts and ticking the ones you agree with. This guide walks through a first Build from a blank workspace to approval, with the decisions that matter at each step. Budget about an hour.
Before you start
- A usepicked account (free, no card). Every paid plan starts with a one-week trial that includes a Build credit; the free tier lets you go through the whole wizard and approve when you add a credit.
- The business's website address. Without one you type the profile in by hand, which works but takes longer.
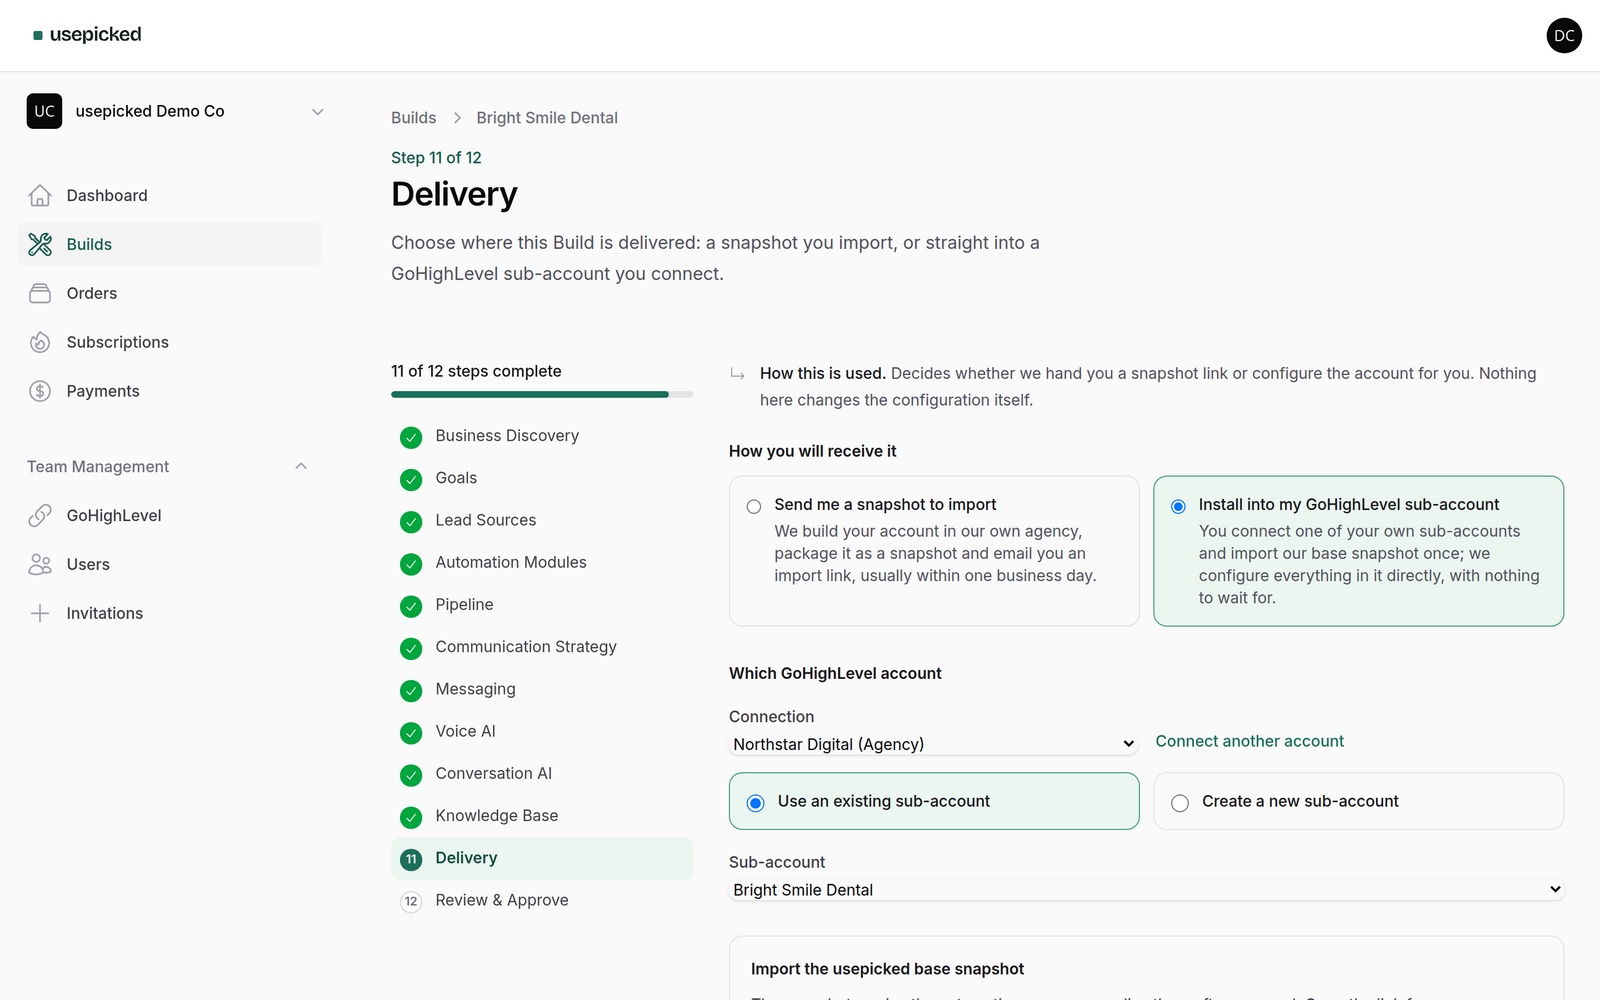
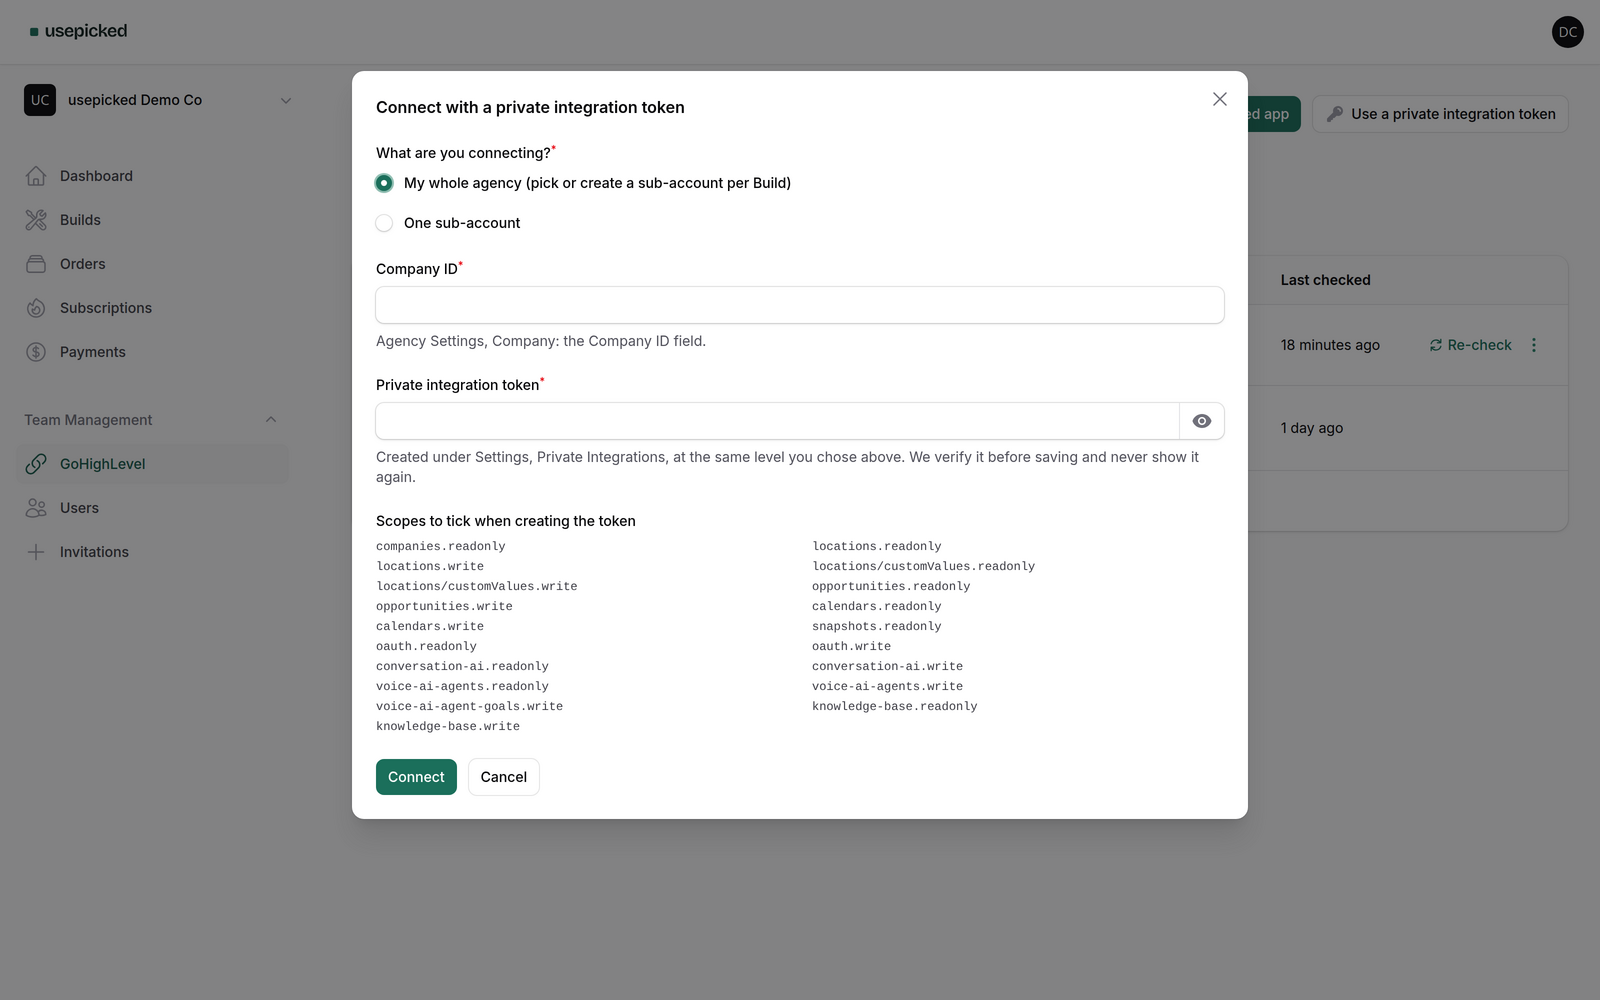
- Optional: a connected GoHighLevel account, if you want the Build installed straight into a sub-account rather than delivered as a snapshot. You can connect it later from the Delivery step.
Step 1: Business Discovery
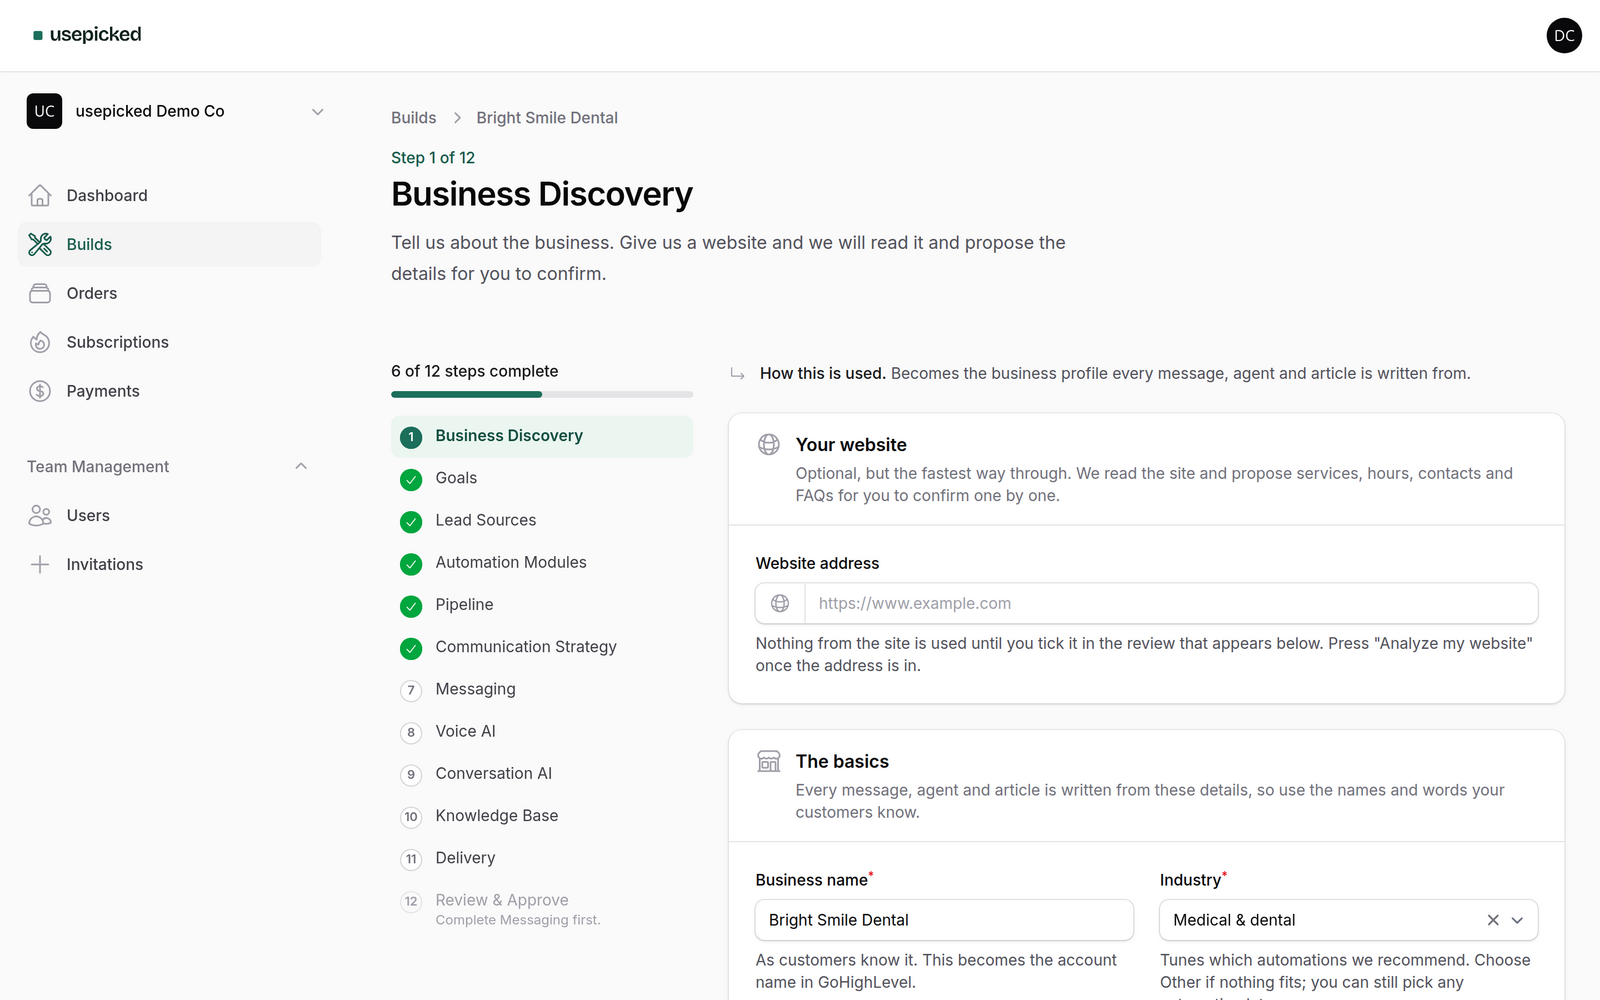
- Open Builds → New Build and give the Build a name (usually the business name).
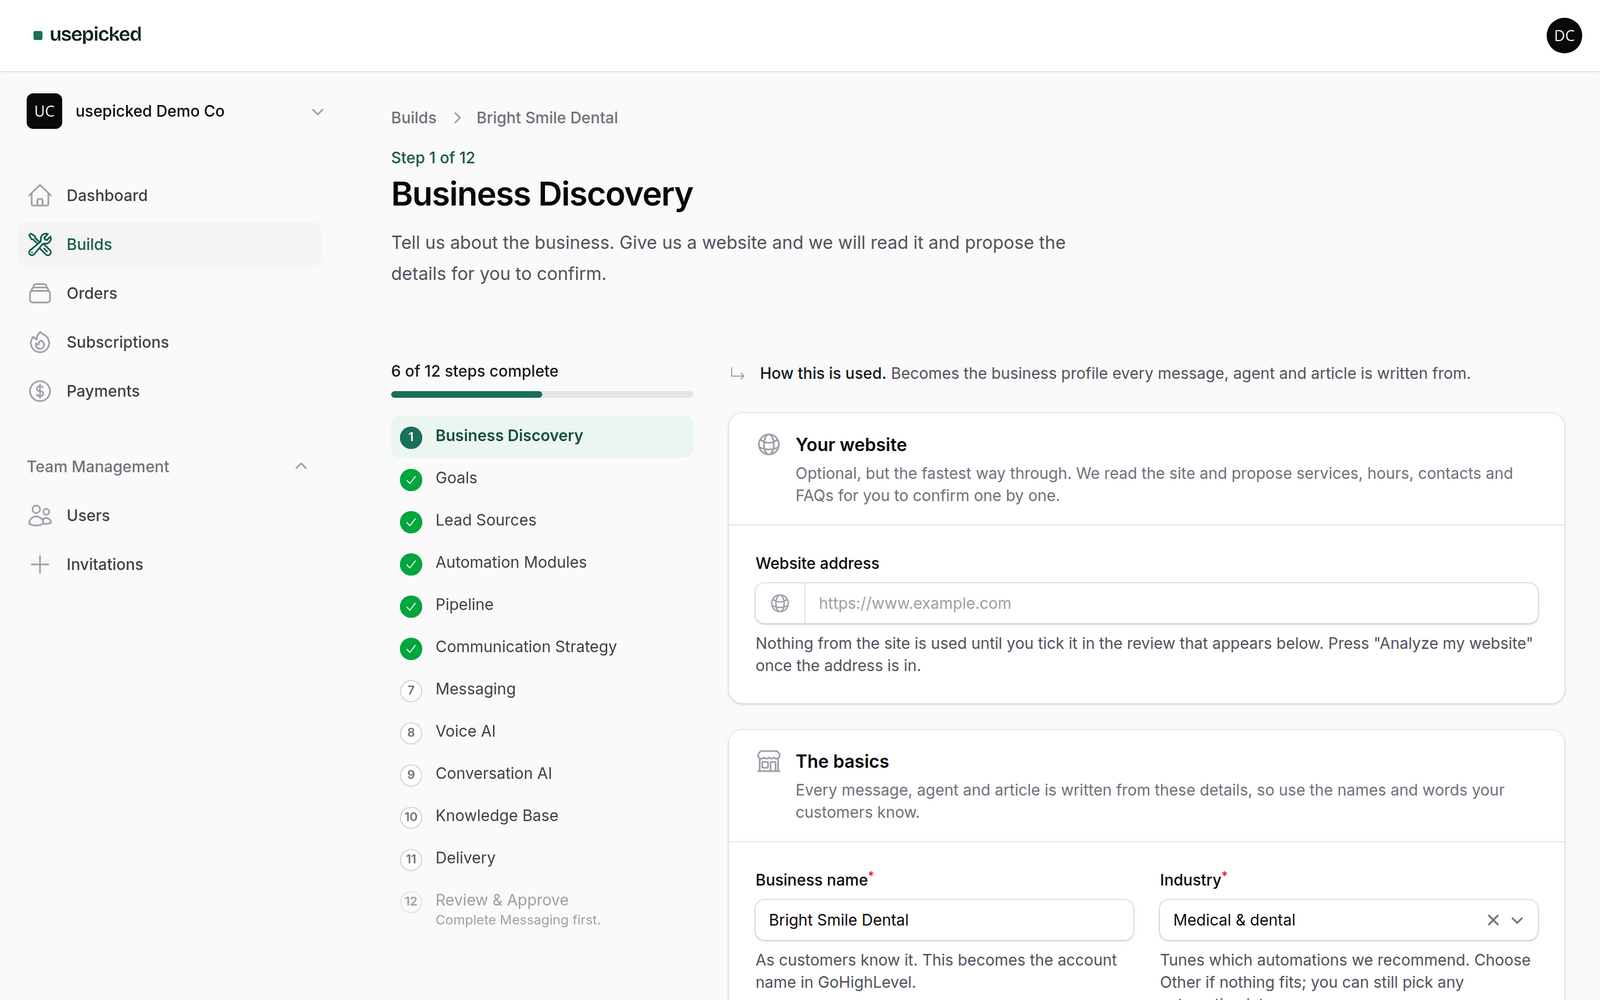
- Paste the website address and click Analyze my website. usepicked reads the site within the limits it shows you and proposes services, locations, opening hours, contacts, offers, FAQs and tone of voice.
- Go through the proposals field by field: confirm, edit or remove each one. Nothing from the site is used until you tick it.
- Fill in what the site did not have: business name, industry, country, timezone and a line on what the business does. These feed the pipeline drafts and the sub-account settings later.
Steps 2 and 3: Goals and Lead Sources
Pick what the Build should achieve (new lead conversion, appointment booking, missed call recovery, follow-up, lead qualification, quote follow-up, no-show recovery, reactivation, reviews, win-back) and where leads arrive today (website forms, incoming calls, Meta ads, Google ads, Google Business Profile, manual CRM entry, imported lists, webhooks, external integrations). Neither step configures anything on its own; both drive the module recommendations on the next step and the activation checklist after delivery.
Step 4: Automation Modules
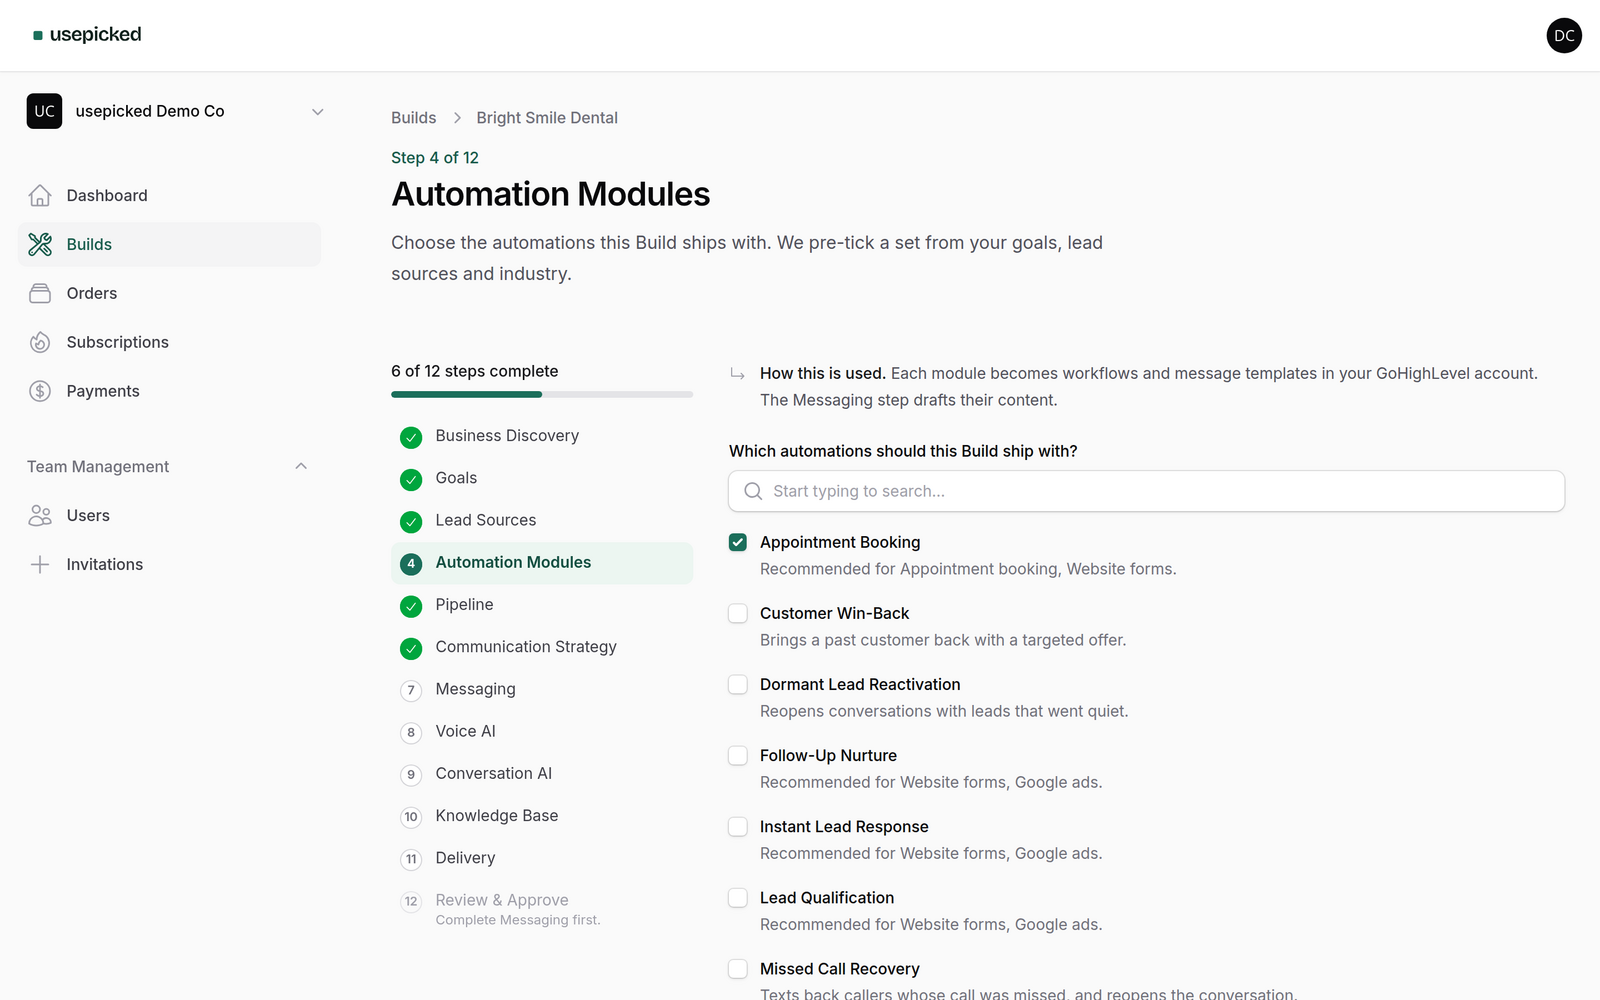
Each module is a proven workflow from the usepicked master snapshot: Instant Lead Response, Lead Qualification, Missed Call Recovery, Appointment Booking, No-Show Recovery, Follow-Up Nurture, Quote Follow-Up, Review Requests, Dormant Lead Reactivation and Customer Win-Back. The recommended set is pre-ticked from your goals, lead sources and industry.
- Keep what fits, untick what does not. Every module you keep gets its own message drafts on the Messaging step and its own items on the activation checklist.
- Modules marked as premium need the Consultant or Agency plan. They stay visible so you can see what you would get; approval tells you if one is selected that your plan does not include.
Step 5: Pipeline
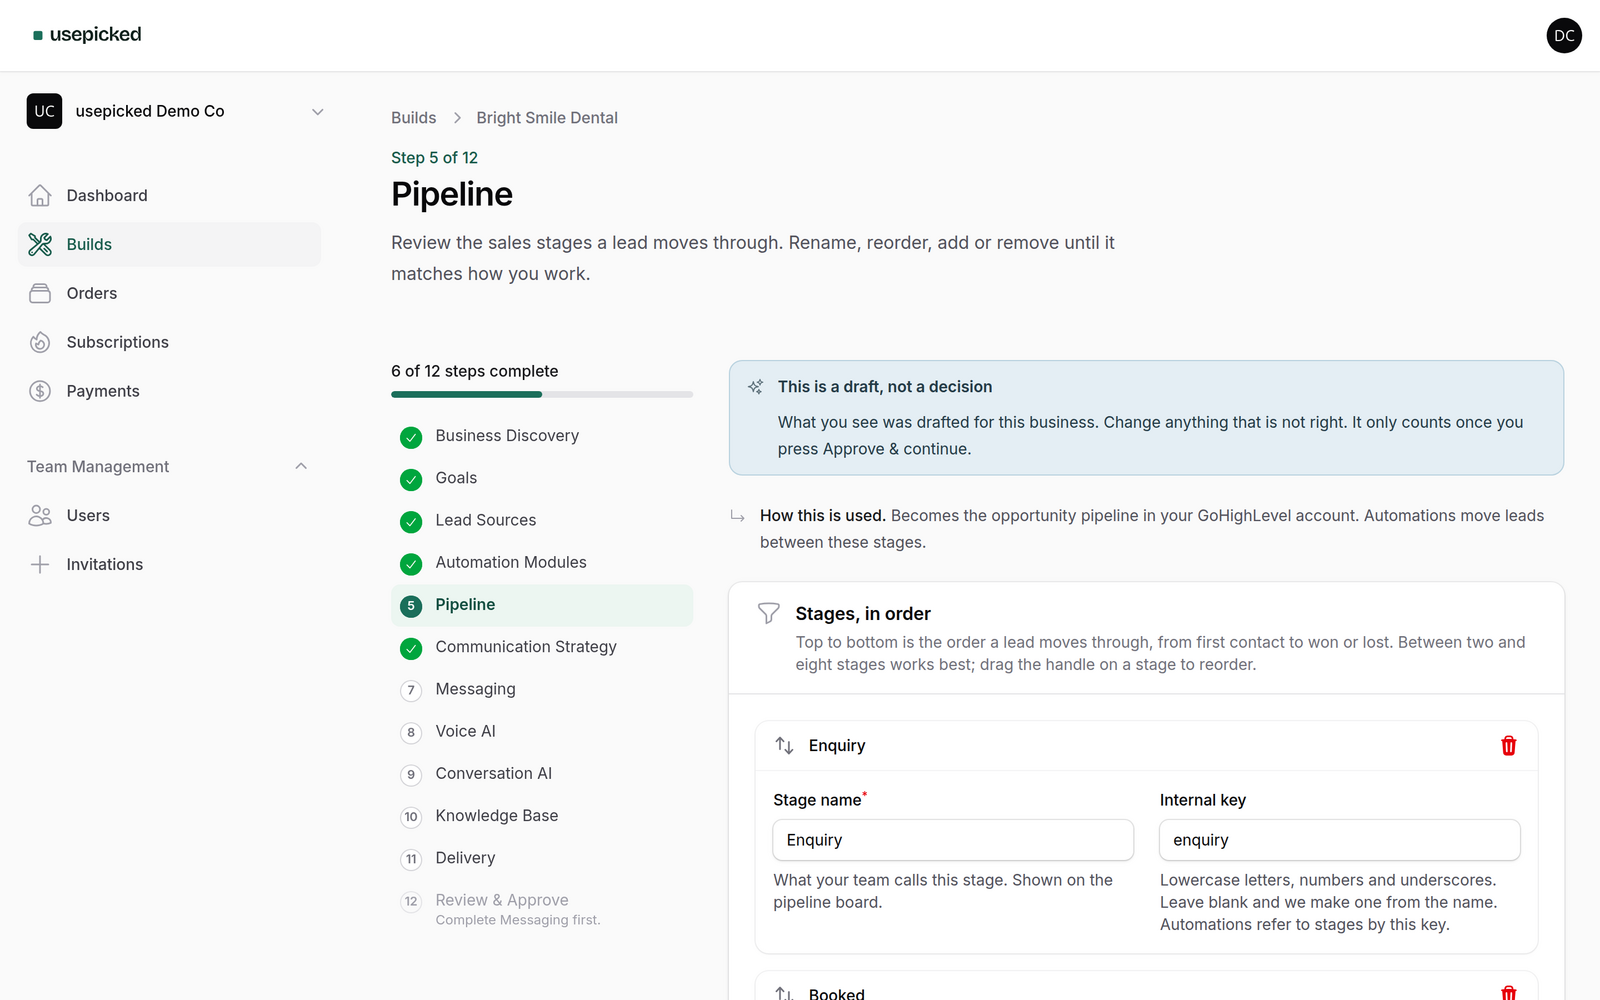
The first AI-drafted step. Stages are proposed from the industry, sales model and goals. Rename, reorder, add or remove until they match how the team actually works, or click Regenerate for a fresh draft. Stage names must be unique. The approved pipeline becomes the opportunity pipeline in GoHighLevel, and the automations move leads between exactly these stages.
Step 6: Communication Strategy
Choose the channels the Build talks on (SMS, email, web chat, Voice AI, Conversation AI) and the default appointment length. Ticking Voice AI or Conversation AI adds a dedicated step for each agent later in the wizard; leaving them off skips those steps. Voice AI needs the Consultant or Agency plan.
Step 7: Messaging
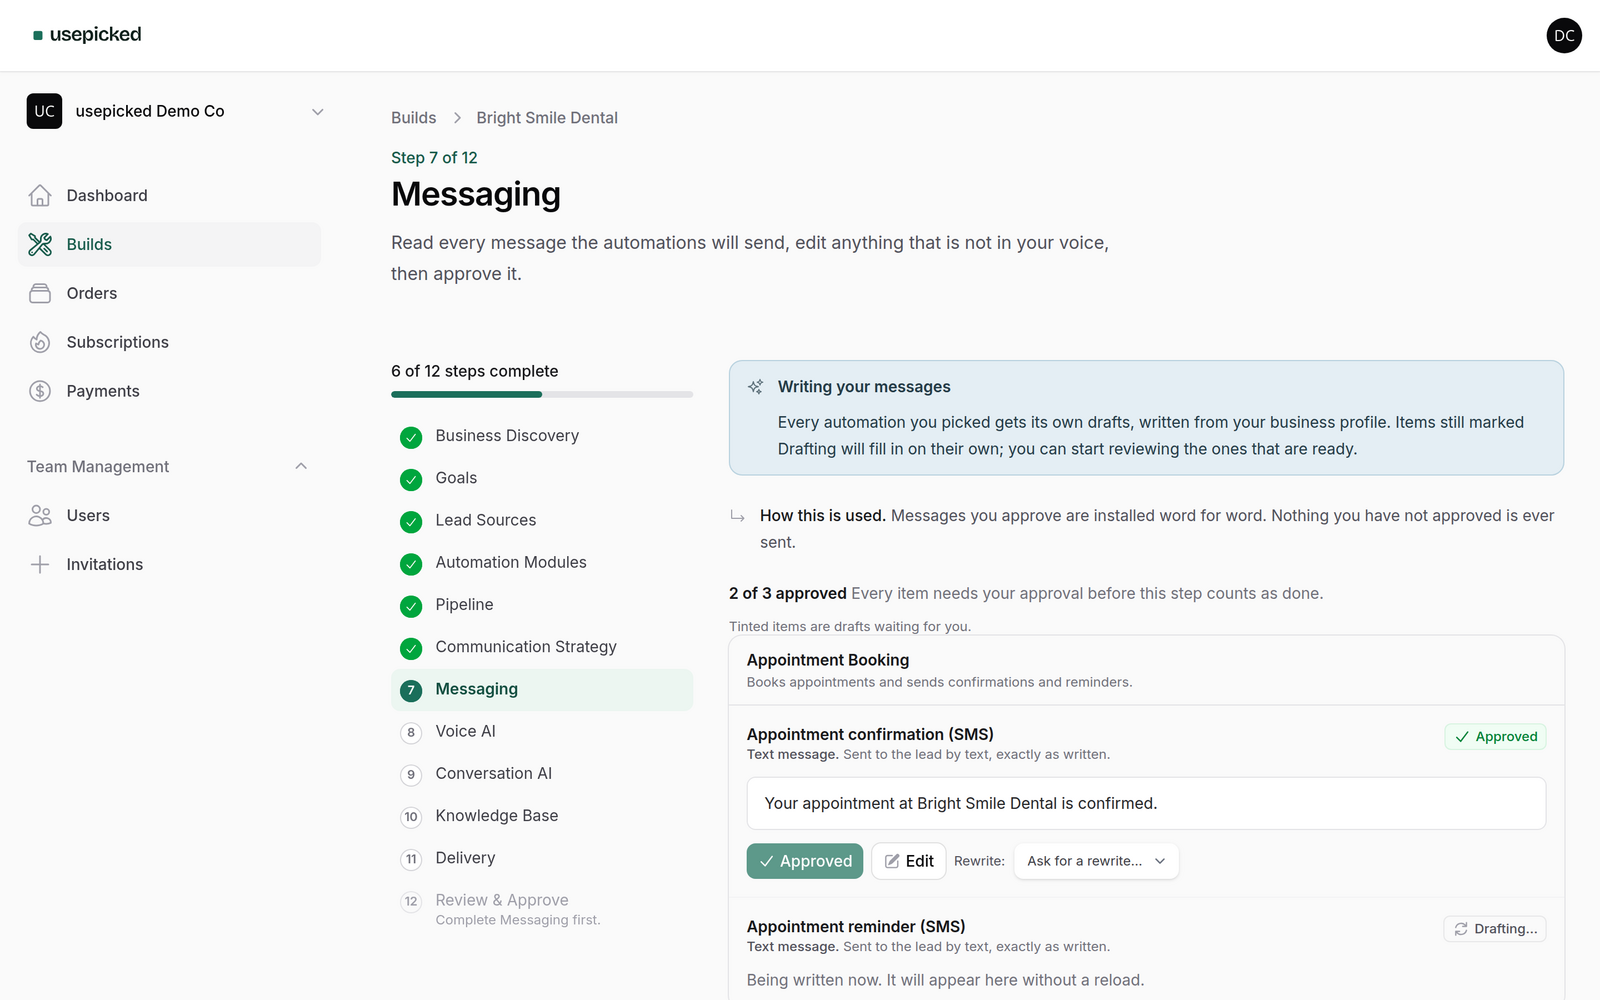
Every message the selected modules will send is drafted here from the confirmed profile: first responses, follow-ups, confirmations, reminders, missed-call texts, review requests, reactivation messages.
- Read each message. Edit inline if it is not in the business's voice.
- Use Ask for a rewrite… (shorter, longer, different tone) when editing is slower than regenerating. Earlier versions are kept.
- Approve each item, or Approve all once you have read everything. Only approved text is installed, word for word.
Steps 8 and 9: Voice AI and Conversation AI
Present only if you chose those channels. Each agent gets a name, role, language, greeting, objective, qualification questions, allowed actions, transfer and escalation rules and working hours, all drafted for the business. Read the greeting and the transfer rules with particular care: they are what a caller hears first and what decides when a person takes over.
Step 10: Knowledge Base
Five articles are generated from the confirmed profile (Services overview, Offers and pricing, Hours and locations, Policies, Frequently asked questions) so the agents answer with facts you have checked. Edit and approve each one like a message.
Step 11: Delivery
Choose how you receive the Build: a snapshot to import into any agency you control, or an install straight into a connected sub-account. This step is covered in detail in its own guide; for a first Build the snapshot is the simplest choice.
Step 12: Review & Approve
Everything you confirmed is shown in one place, with the delivery choice and the credit that will be used. Approve and start building does three things at once: it uses one Build credit, it freezes your answers as a numbered version that can never be edited, and it starts building the account. If a plan feature is missing (a premium module or Voice AI on a plan without it) approval tells you exactly which item to change.
After approval: the workspace
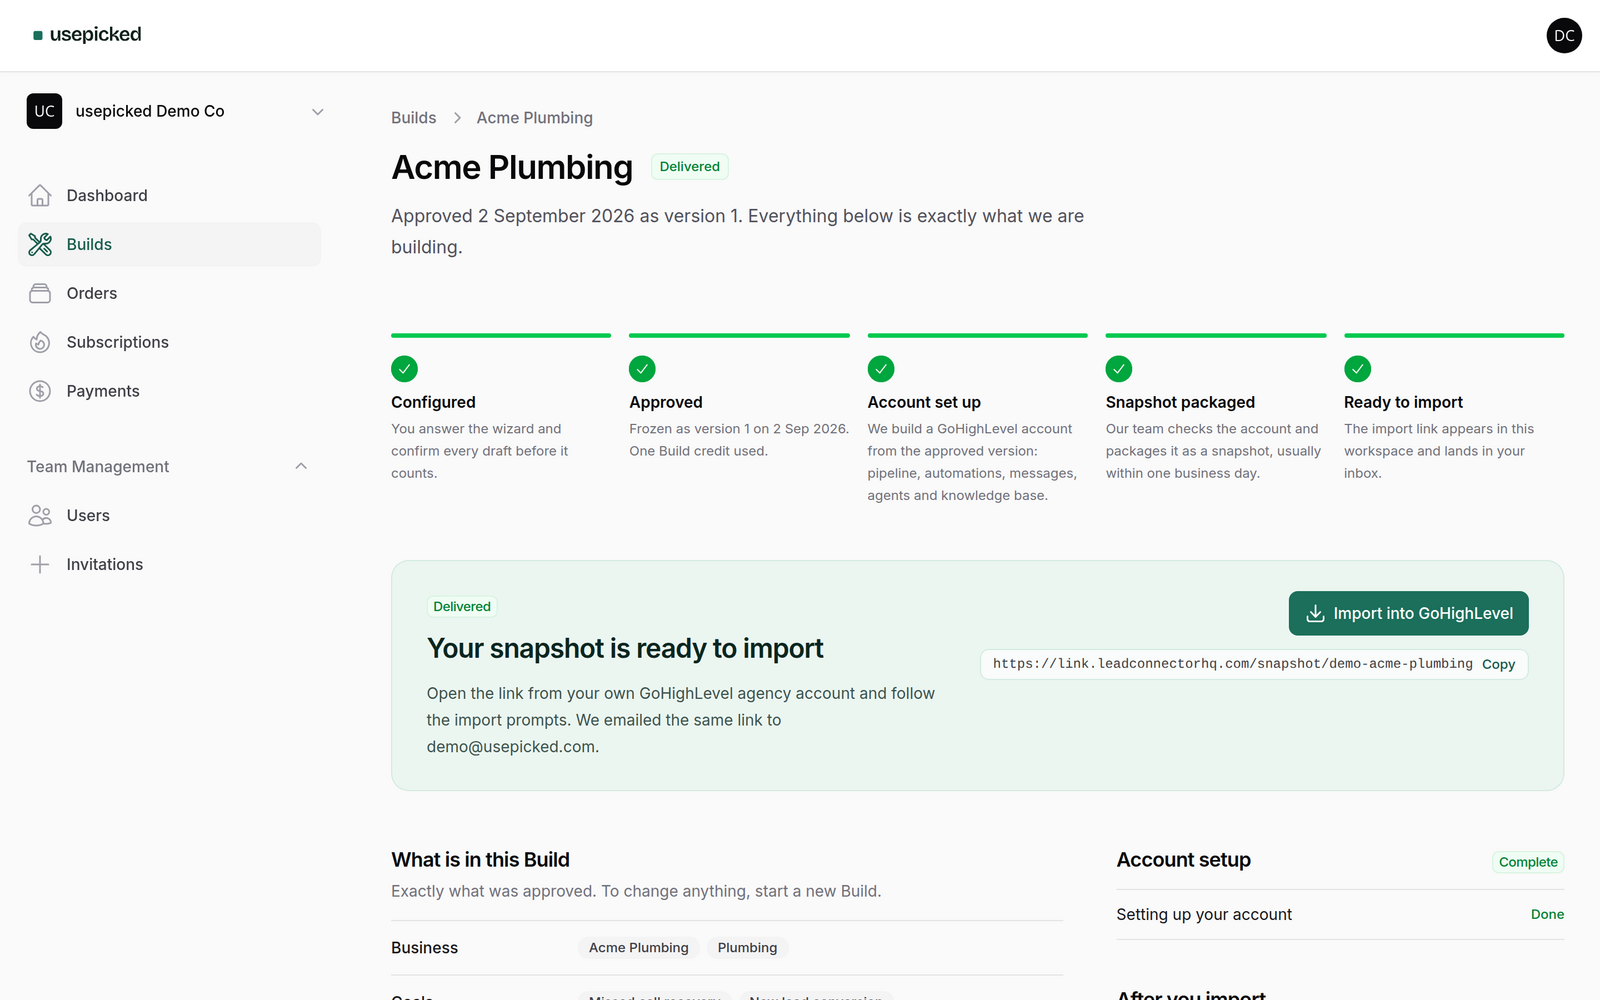
The Build leaves the wizard and opens as a workspace with a five-stage timeline. You do not need to do anything until the last stage.
- For a snapshot: Configured → Approved → Account set up → Snapshot packaged → Ready to import. The import link appears in the workspace and in your inbox, usually within one business day.
- For a connected sub-account: Configured → Approved → Connected → Account configured → Ready to use.
Things worth knowing
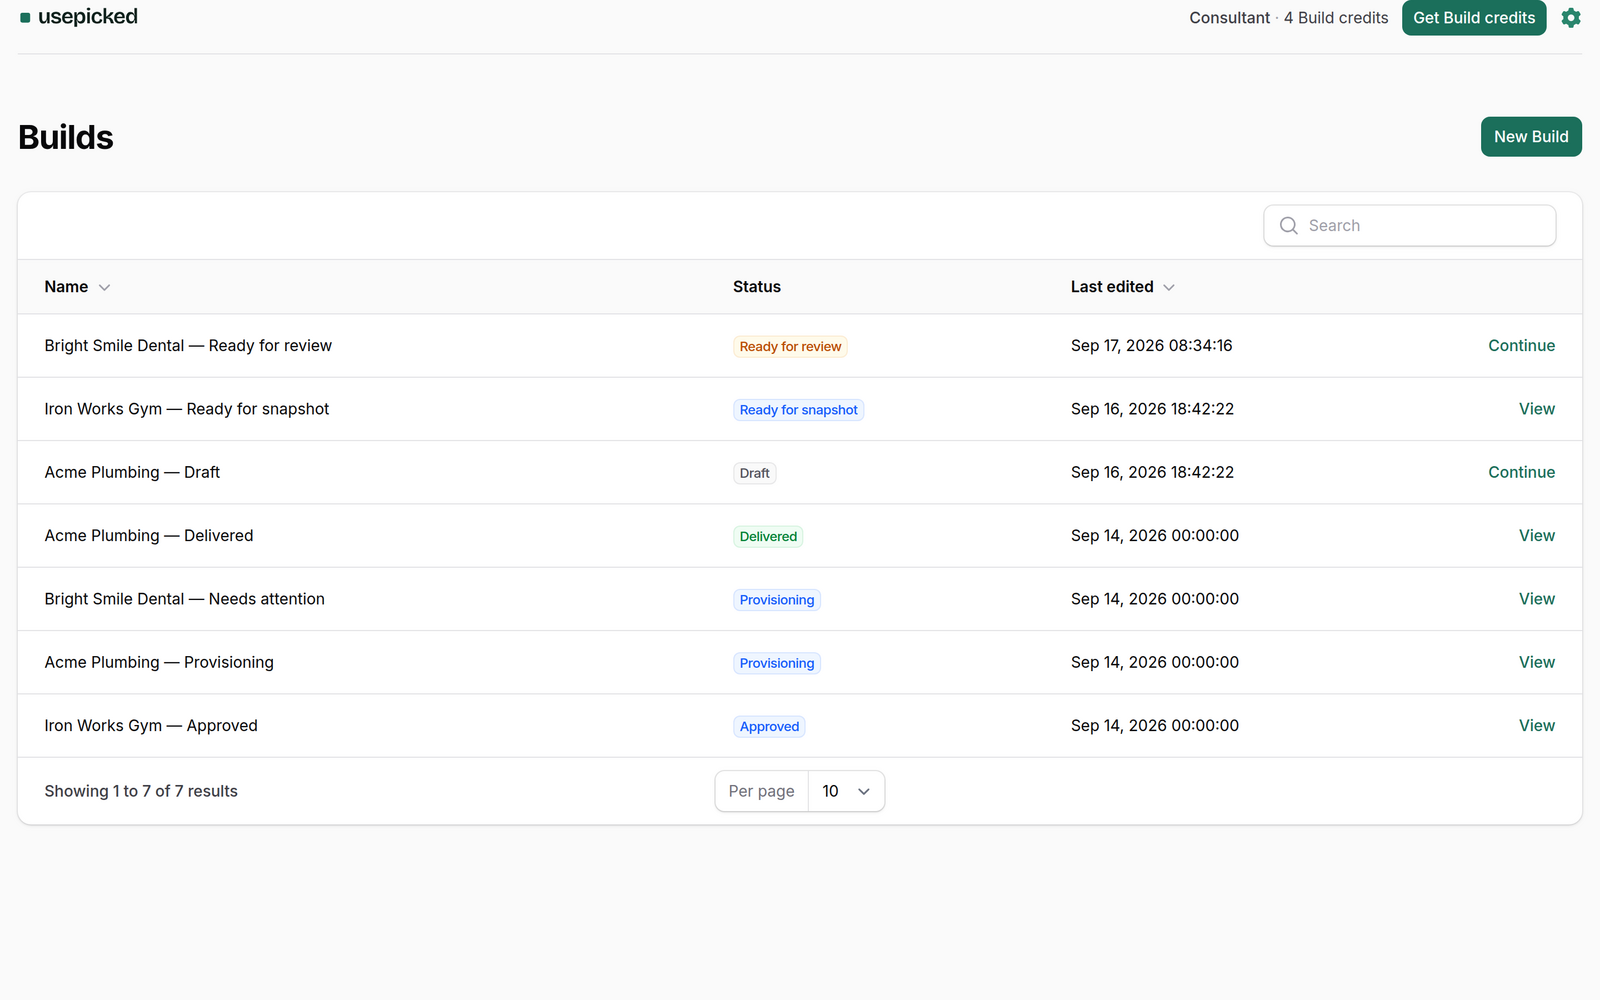
- You can leave at any step. The Build reopens exactly where you stopped, days or weeks later, and the dashboard shows a Continue button for the last open Build.
- Regenerating never loses work. Earlier drafts and your edits stay available.
- Credits are used at approval only. Website analysis, drafting and regenerating are free. If provisioning fails permanently on our side, the credit is returned.
- Changing an approved Build means a new Build. The approved version is frozen so that what you reviewed is exactly what is built.